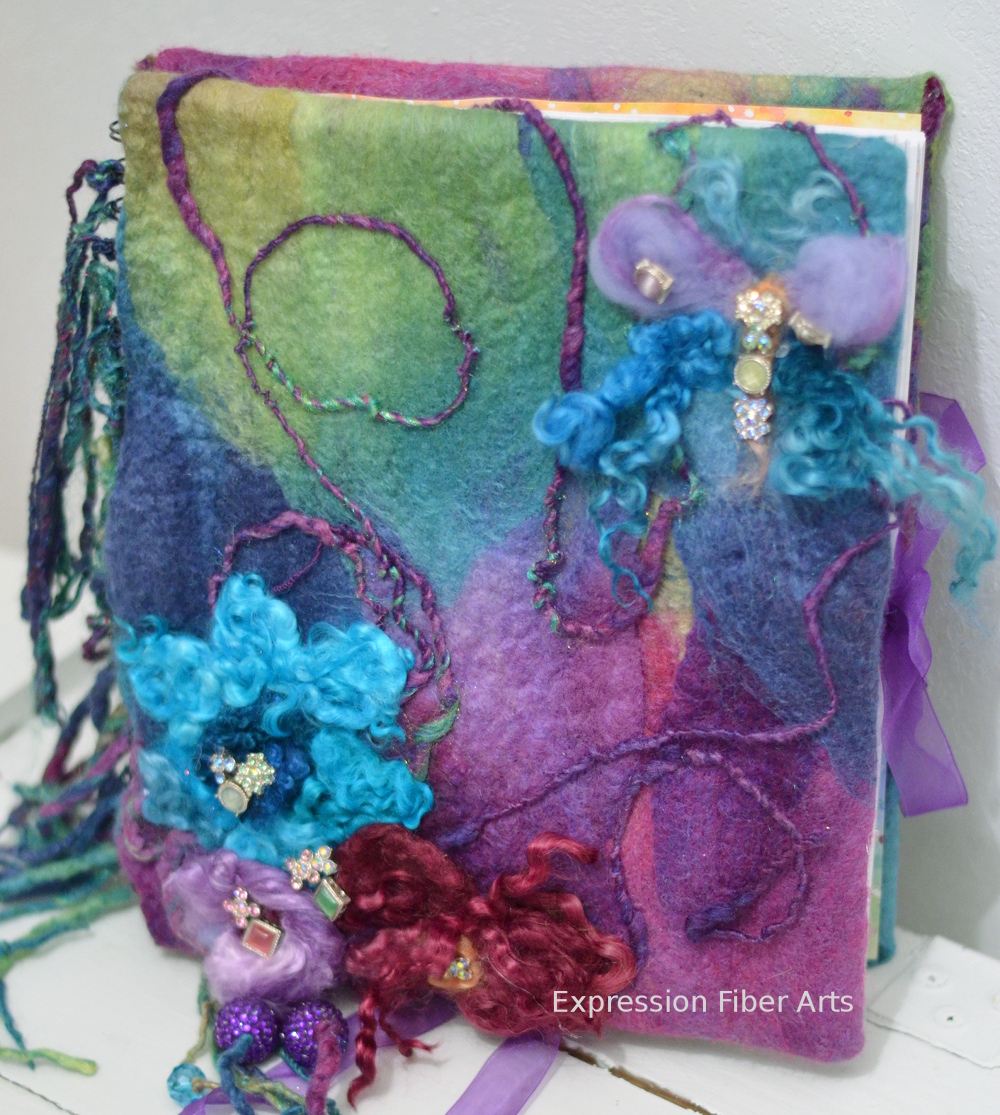
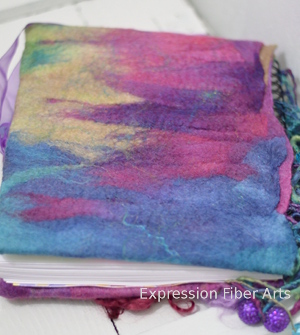
I got the idea into my head to make a felted journal cover. I had seen some on Pinterest and thought, HEY! I can do that!
So I proceeded to Google it and Youtube it and here is what I made!
Isn’t it scrumptious as all get out?
I am WILD about it.
If you too would love to be the owner of such a gem, here is what I did to make it:1. Buy a journal. Mine was a plain, hard-cover, spiral artist’s pad from Joann’s Fabrics.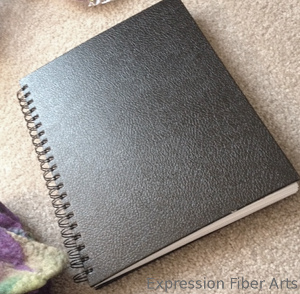
2. Measure the cover so you know how big to make your piece of felt. (Mine was approx. 14″ x 11″)
3. Buy some wool. I purchased organic polwarth/silk mix roving from woolgatherings on etsy. 4 oz. But you can do a search on etsy or google for roving OR batts (which might be easier, as they are already in sheet-like form)… JUST MAKE SURE you don’t get superwash wool. Superwash wool has been processed at the mill to prevent shrinking/felting. So you’d be up a creek without a paddle. It just wouldn’t felt.
4. Make a sheet of felt for the front and back of your journal. Wool shrinks when it felts, so make it several inches bigger on each side to allow for shrinkage during the felting!
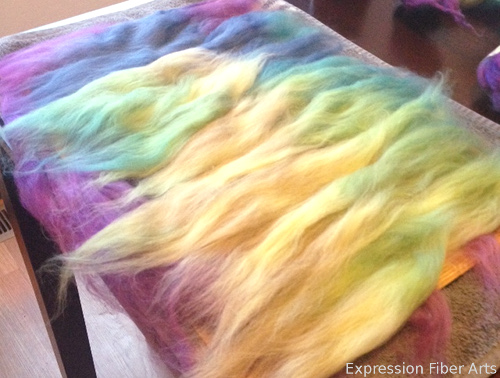
Here I am laying out my wool to start felting it:
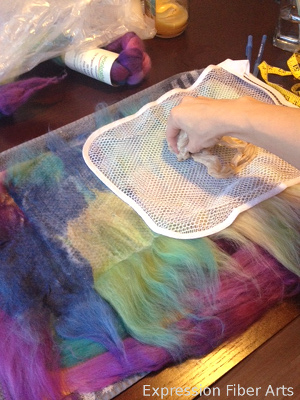
And me actually wet-felting it:
So how do you felt it? I watched these 2 YouTube videos to see how it’s done:
Wet Felting Part 1:
Wet Felting Part 2:
I made 2 sheets; 1 for the front and 1 for the back.
Let them dry. Took about 1 or 2 days over the heat vent.
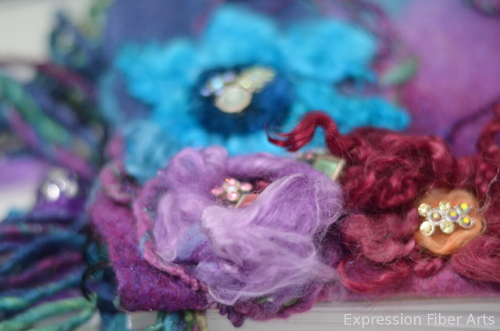
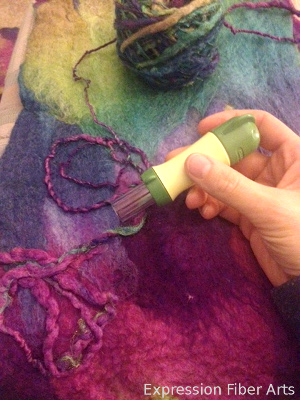
Step 5: Needle felt designs onto your sheets! I did some flowers:
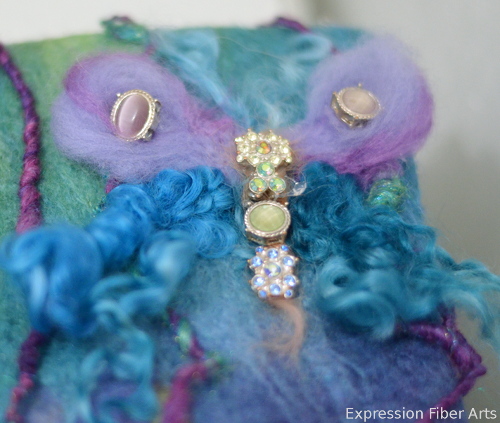
And a butterfly:
I chose to decorate only the front sheet, basically because I broke all of my felting needles before getting to the back sheet. Oops.
Here’s the back:
Not sure how to needle felt? I didn’t really know either.
You can again, check out YouTube. Basically you just need a needle-felting tool (about $20) and some loose wool (etsy!) and something soft to put under your wool ( I used my footstool), and start punching your loose wool onto your sheet of wet-felted wool. It will tangle and adhere together, as the needles have little tiny barbs on them. I actually started by needle-felting some of my hand-spun yarn onto the sheet.
Easy and FUN!
Step 6: Hot glue on some jewels like I did, if you like. These were from an old broken bracelet I had kept.
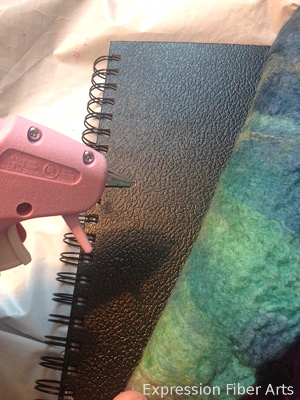
Step 7: Hot glue your finished felt piece onto your journal. Wrap the edges around, cut away the excess on the corners and hot glue the edges to the inside.
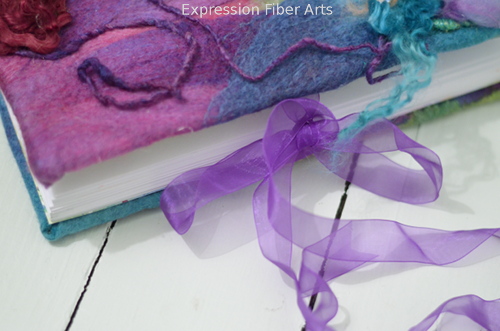
Step 8: Hot glue some ribbon like so to the front and back insides, which will serve as your ties to close up your journal.
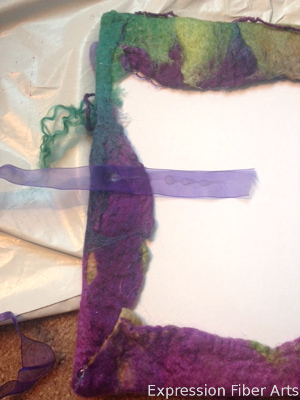
Step 9: Cover the insides with paper/fabric or more felt. I used colorful scrapbook paper I had gotten at a yard sale.
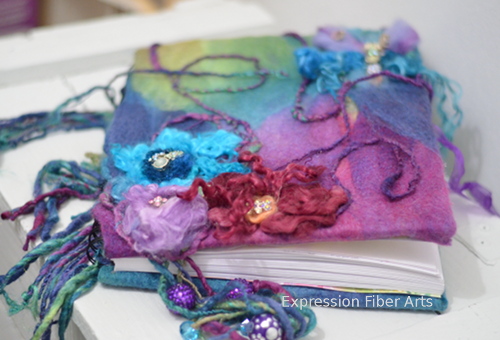
Step 10. Tie some yarn onto the spirals for a fun look. I spun up the remainder of my polwarth/silk roving from woolgatherings, mixing in some sparkly angelina (etsy!) and used that. If you don’t know how to spin, you can purchase hand-spun yarn on etsy or get a drop spindle and learn to spin ( I use a wheel, though… a lendrum saxony, 28″ double treadle, about $1000). OR! Use ribbon, store-bought yarn, twine, strips of gorgeous fabric, or whatever.
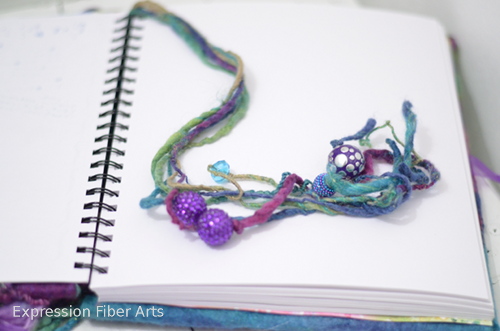
I chose to make the top yarn really long, and added some beads (from Joann’s Fabrics) to the ends, to function as a bookmark.
And DONE!
Hurray!
It sounds like a lot of steps, but it’s simpler and easier than I made it seem!
Not wanting to do all these steps?
TIP! You can buy thick sheets of felt in your local craft store, and pre-felted flowers/animals/shapes… you could just hot glue the shapes onto the felt sheet and hot glue that onto the journal. Voila.
You can usually find this felty-type stuff near the yarn section. (I’m not talking about those thin sheets of felt in the kid’s section, although you could use those too I guess).
So there you have it!
I chose to put stickers and little cards and envelopes all throughout the inside to make it even more special!
I’ll be using this as my creative journal… writing down my dreams, my goals, my plans…poems, things to remember in years to come. Things I’m grateful for, etc.
I hope this tutorial helps you! These would make awesome gifts.
You know I love your comments, so comment below and let me know what you think! Would you make one of these?
XOXOXO
Chandi



Beautiful
Love the journal. So whimsical and reminds me of magical woodland faeries and magical tales.
This is so beautiful, I’ve wanted to make one ever since you started posting about it on Facebook. I had a hard time waiting for the tutorial before buying supplies! Thank you for sharing this. 😀
What a Beautiful Journal! The instructions are easy to follow as well. Thank you for sharing…
Thank you for sharing this, I love it and will do one for my journal. Thanks for the inspiration.
Thank you Chandi, I like others have been waiting for the instructions. You do awesome work and super video instructions.. Dont know when u find time to do all that you do.
I love the felted journals and will definitely try to make one. Can u please do a tutorial on the felted soap you made!would love to make some for gifts this year. Thank you!
This is just what I was looking for to cover a photo album for my daughter. I have just stated felting and am really looking forward to doing this. Thank you for the tutorial, it looks easy enough for me to follow lol.
Loved how everytging turned out: full if whimsy and color. Brava!
You mentioned breaking needles while needle felting– just a tip. Use a styrofoam square to use your needles on– saves your fingers and your needles. What a beautiful and fun project.
Thank you!
LOVE this journal cover! And what beautiful designs and photos! Thank you!
Great tutorial. Makes me think I could make one. Keep up the good tutorial work.
its beautiful and you have inspired me to make one!
It is beautiful and you have inspired me to make one!
I know what I’ll be doing for the next round of birthdays. Thank you sooo much for sharing you’re skills, much appreciated 🙂
Just found your wet felted journal……..and love it. Have been looking for journal ideas tonight. I’m starting a wool journal for my best friend who is retiring this week. Wanted to let you know about Merino roving and batts available at DECADENT FIBERS, custom dyed fibers, they dye any colors you want. Keep up the good work. Pat
Absolutely love this must have a try thanks so much for sharing.
What a lovely design. Loved the way you laid out the steps for it. Also loved that it was for a spiral notebook as I have only thought you could felt non spiral ones. Thank you so much.
Thank You for the detailed user friendly directions. I am going to make one. ❤️
What an excellent tutorial. I am a fellow crafter but up until now only dabbled in felting. You have given me the inspiration to do so much more. Thankyou
Thank you – very clear instructions which I will be trying out very soon.
Love it and plan to make 1 or more. We are headed to Maui in 2 weeks and this will be a great, easy to take along, project for working out on our Lani in that gorgeous Maui air. Will sent pics when done if I can figure out how to do that. Thank you!
Awesome! Have fun in Maui!
Wow..just stunning. Easy to follow tutorial too. Thanku..cheers
Kaz 😆
Wow! Thanks for sharing your process. I will definite,y try it.
Fantastic tutorial! thanks.