Hello, my beautiful sunflower! I have a sweet, customizable crochet cardigan pattern to share with you, and I hope you’ll read on to learn more about it!
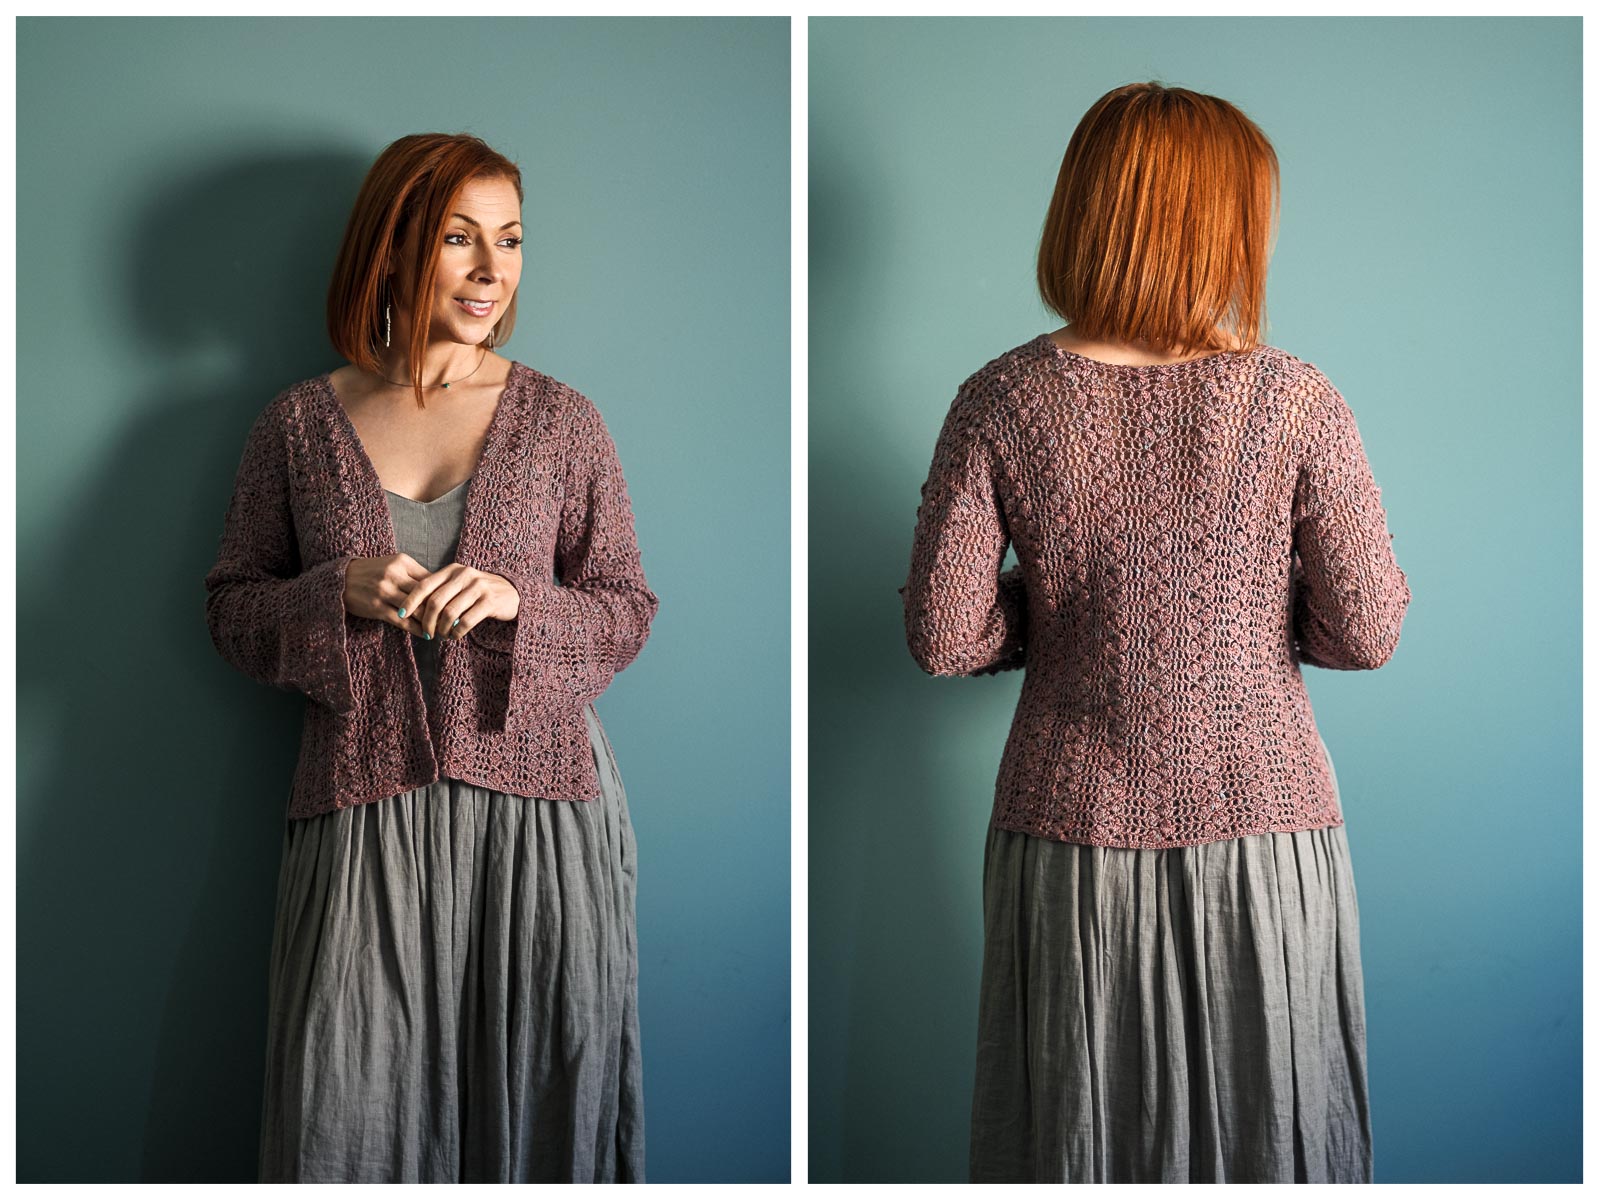
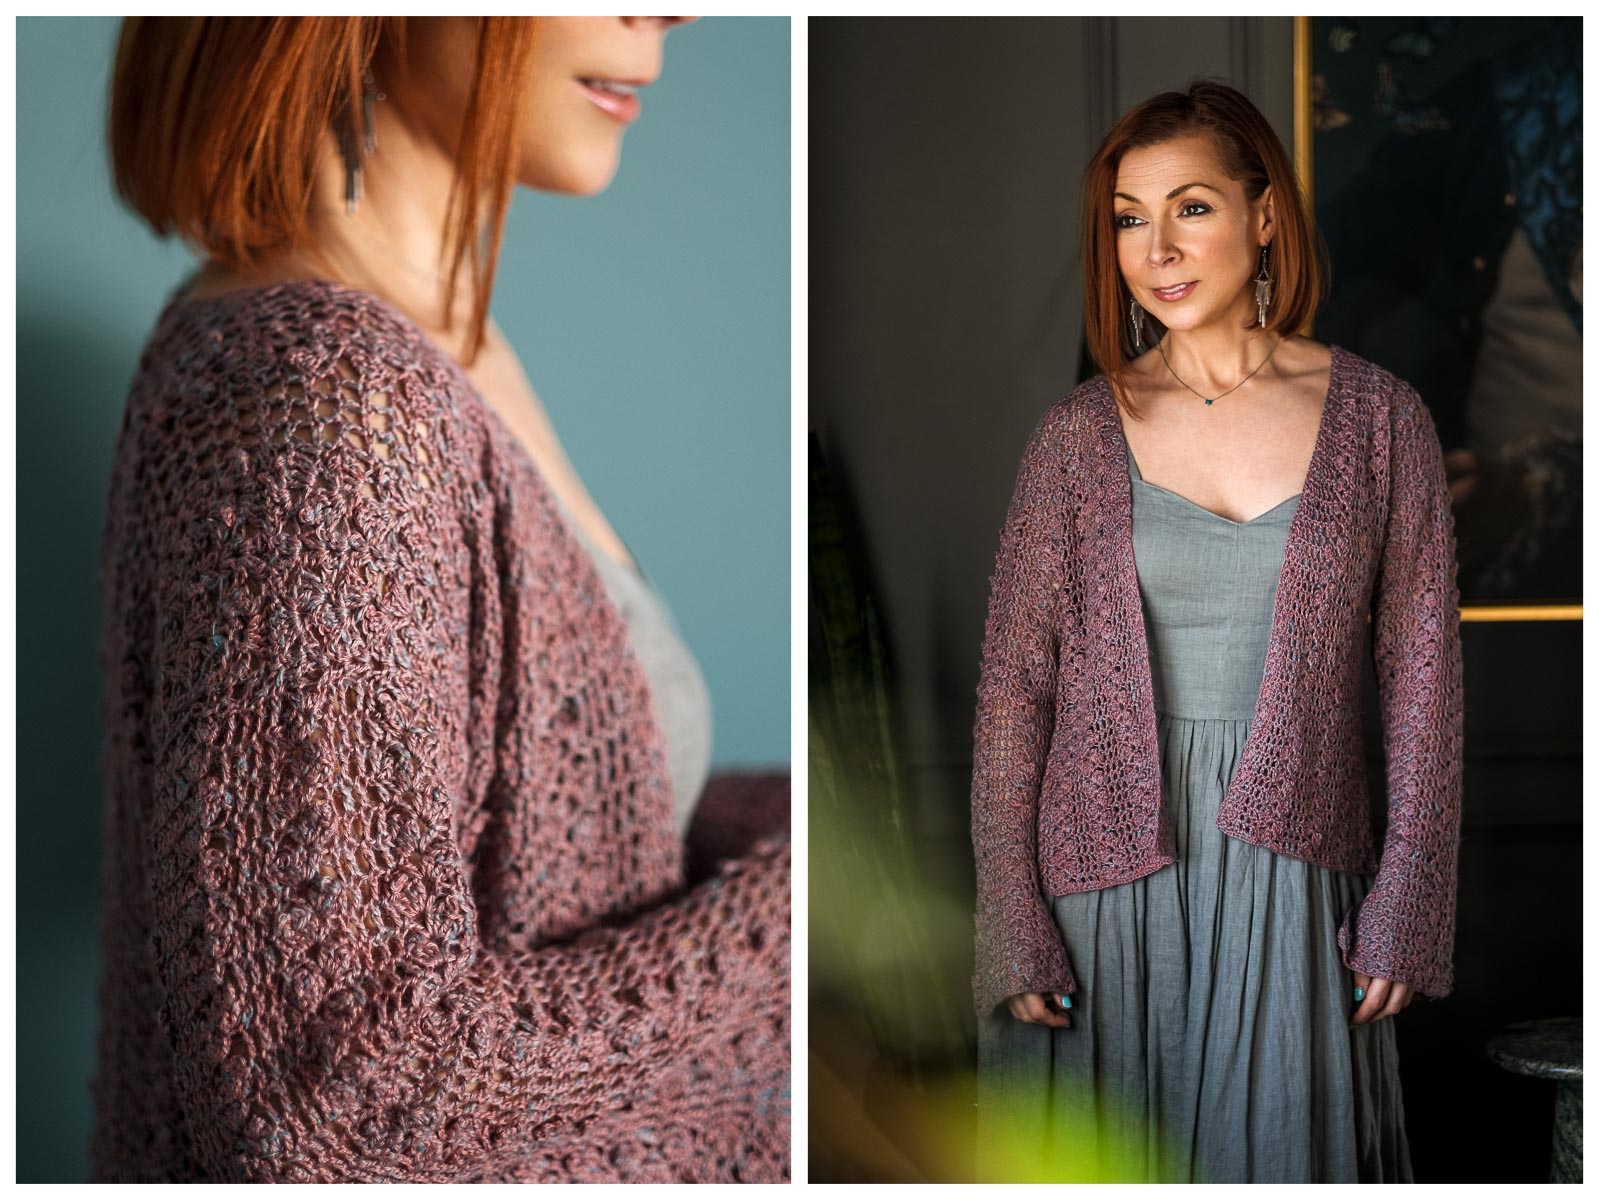
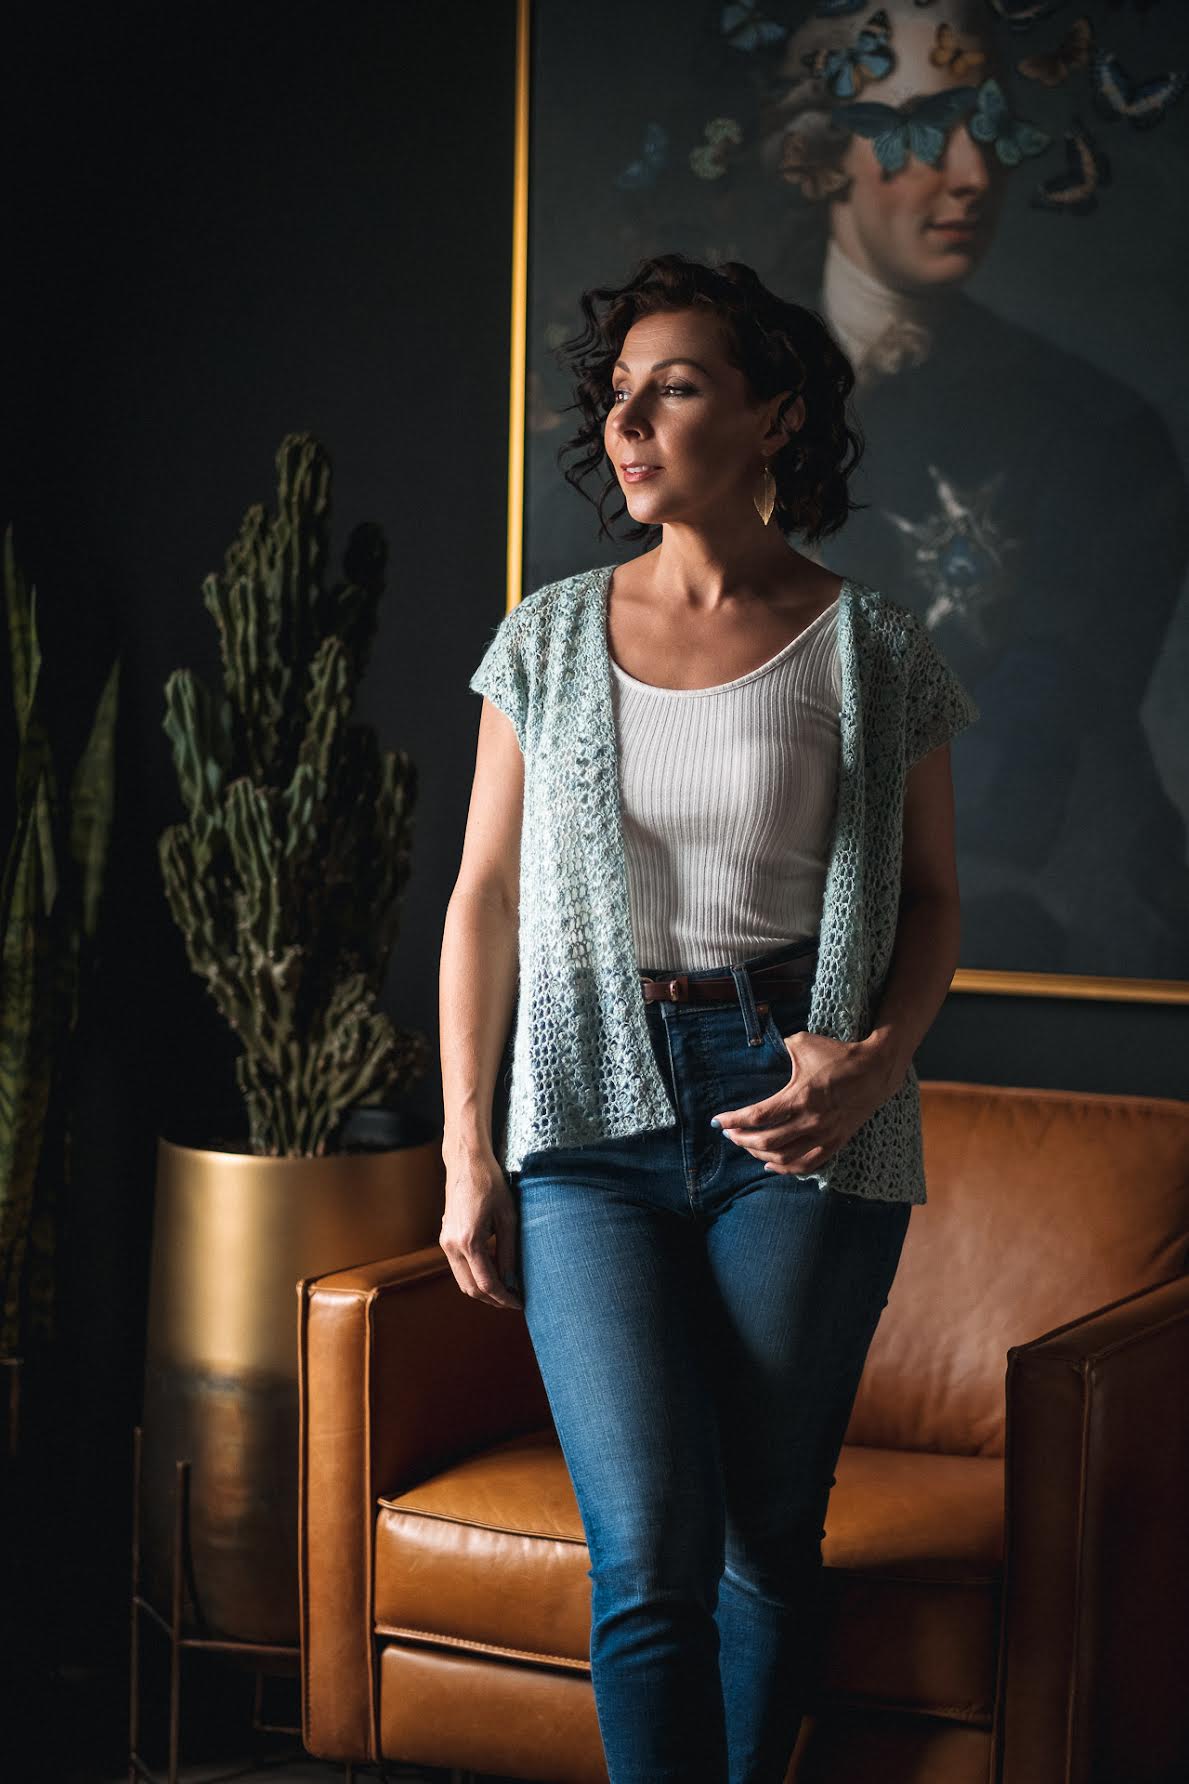
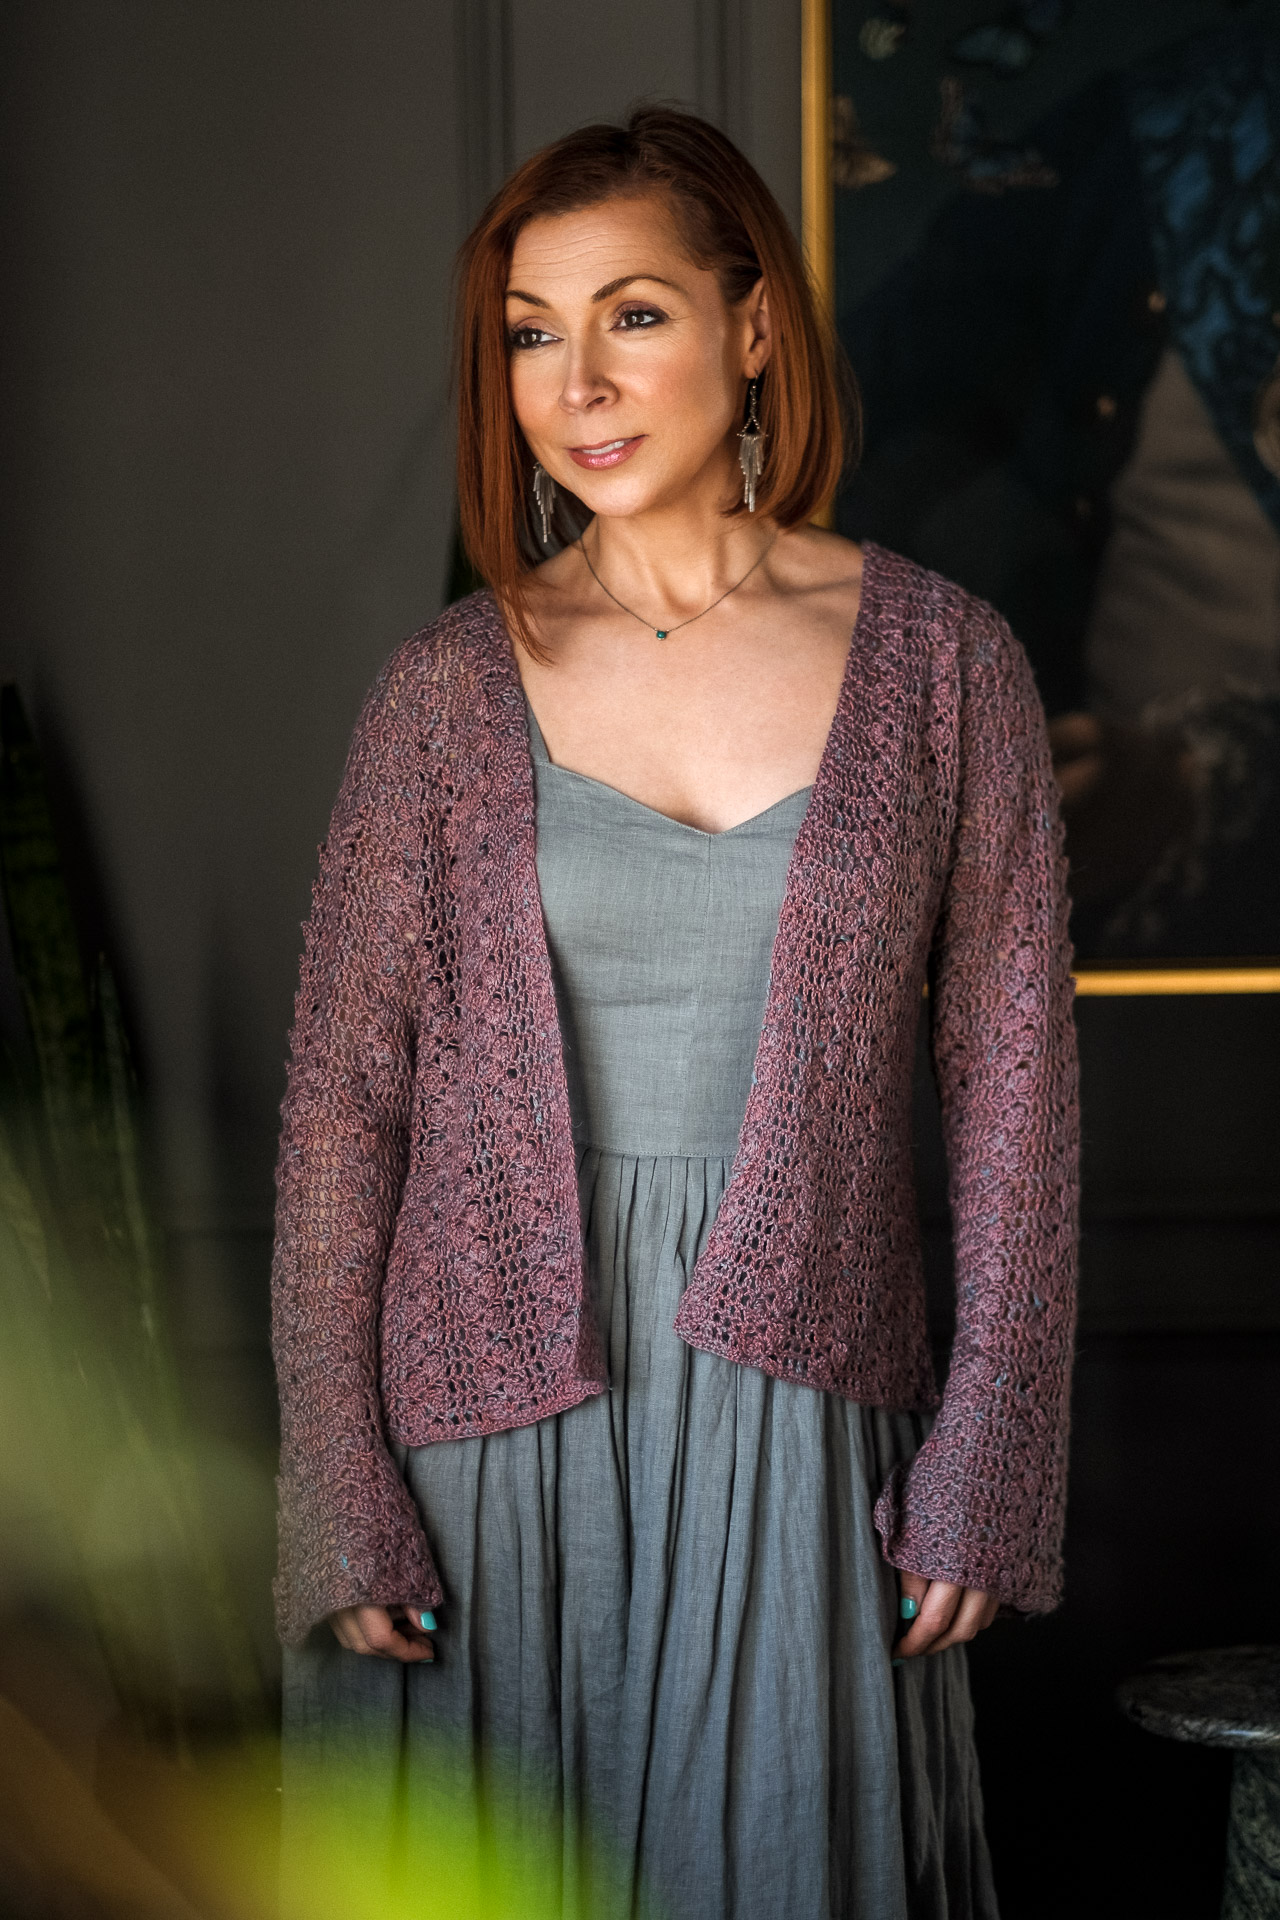
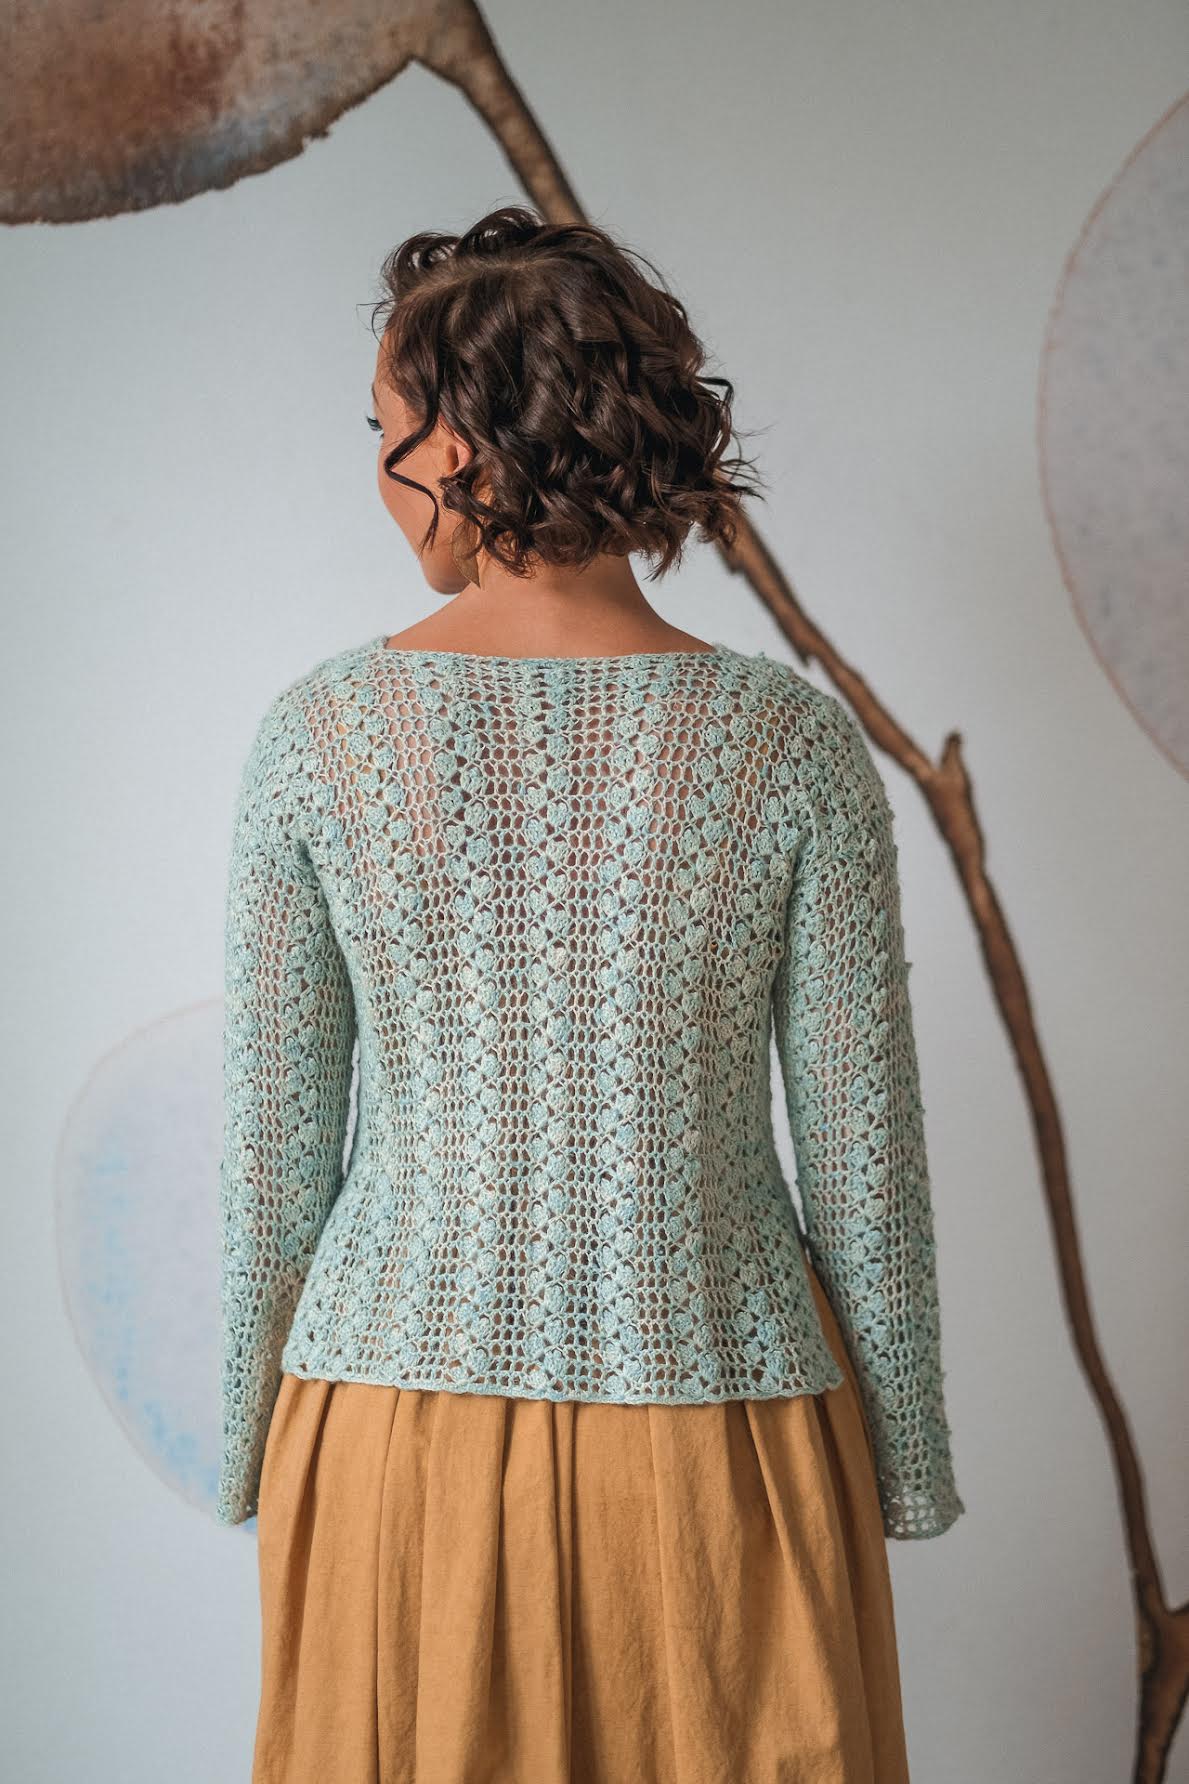
 Collette was designed by Jane Vanselous. When asked about this pattern, Jane said, “With the nostalgic charm of lace and a modern silhouette, Collette is a cardigan that is easily adaptable to a wide range of styles. Make it your own with a choice of close fitting or loose, short or long, with or without sleeves. Choose a soft pastel color, or something bold and bright, to create a sweater that best reflects your personality.”
“The sweater is worked from the bottom up, allowing for two places to make adjustments to the length. Sleeves are worked separately and stitched to the body after the fronts and back have been joined at the shoulder. The main lace pattern used throughout the sweater is easily memorized. Designing for 10 sizes requires a rather long pattern, but don’t let that sway you. The sweater is suitable for an intermediate to advanced crocheter, requiring no difficult stitches.”
Collette is shown here in our Limited Edition Signature Fingering yarn, which is a soft and breathable blend of 30% Linen, 30% Mulberry Silk, and 40% Baby Alpaca. The linen fiber in each colorway is dyed in our signature aqua blue color, which ties all of the shades together, while the other fibers are dyed in complementary colors. This collection is meant to symbolize our journey as a company. Things may shift and change, but like the linen running throughout the skeins, we strive to stay true to our values of positivity, joy, and the pursuit of constant improvement. 448 yd/410 m per skein.
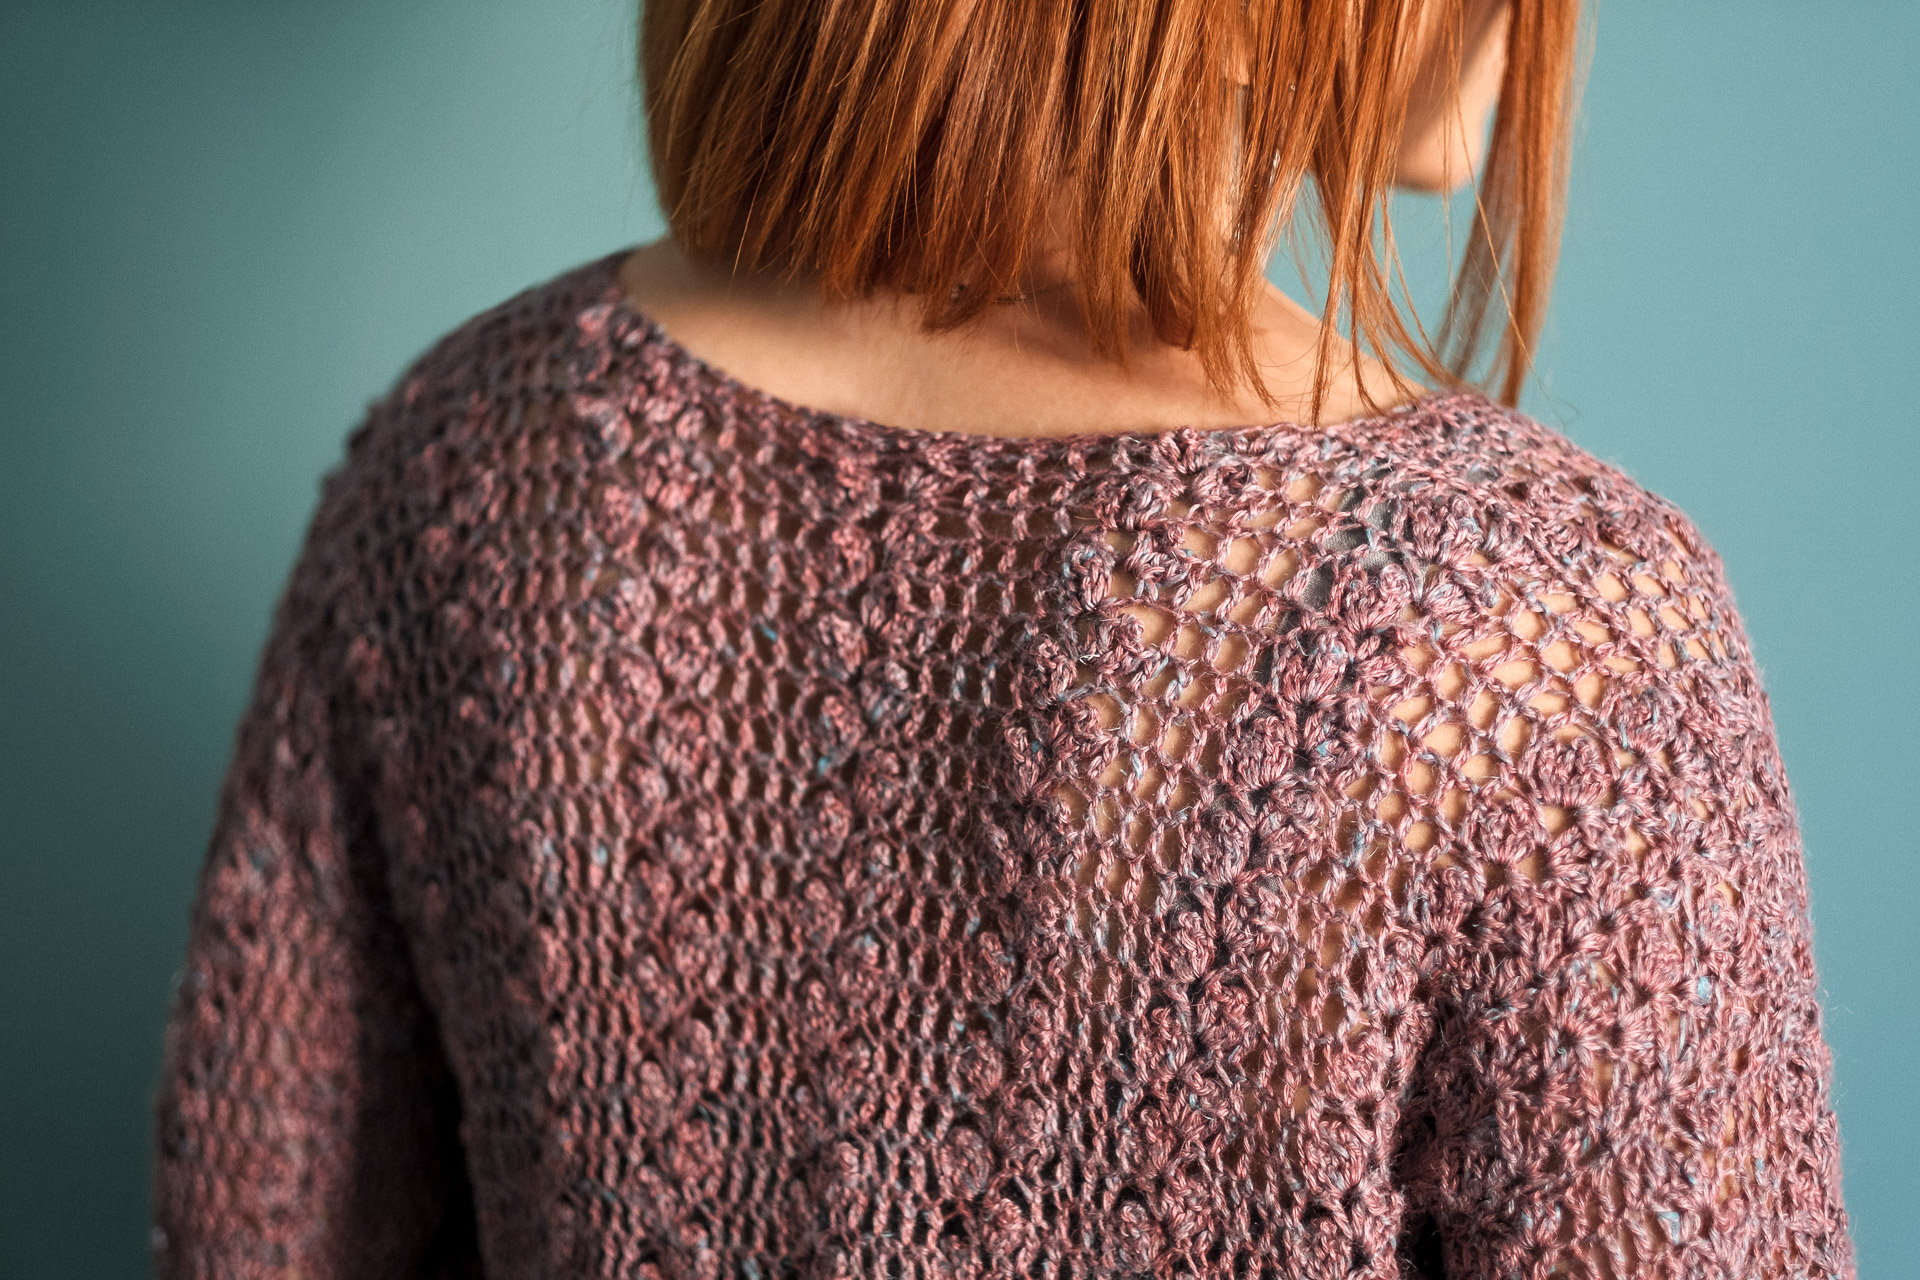
Collette comes in sizes 1-10 (31.5″-68″/80-173 cm finished bust) and uses 600 – 2500 yards (550 – 2285 m) based on the version and size selected. The sample with sleeves is a Size 3 (39.5”/100 cm), and the sleeveless version is a Size 2 (35”/89 cm). Both are shown on a 34” (86.5 cm) bust. The original versions are shown in the color Dream Higher Signature Fingering, which is a discontinued color. The new sample is shown in Mindful Presence Signature Fingering.
Be sure to purchase all the yarn you need for your project because once these Limited Edition colors are gone, they’re gone!
This Intermediate to Advanced level pattern is for those who feel comfortable with crocheting and have made a few projects, using various skills and techniques. Skills/concepts include good pattern reading skills and basic sc and dc with the addition of a picot and 2 dc puff stitch.
 We made a video showing you how to work the lace pattern. Take a look!
This pattern includes written instructions and charts, as well as a schematic.
I appreciate your reading, and if you’d love to get brand new, premium knit and crochet patterns weekly, just hop onto our email list there on the site. We list new patterns most Fridays, and many are free for a limited time. I hope to see you there.
Talk to ya soon.
XOXOXO Chandi


This is so beautiful, but a little intimidating! I’m a knitter first but have made many of your crochet shawl patterns but only one cardigan, Caitri. Thank you for including tutorials in all your patterns, they really boost my confidence. I will definitely be attempting Collette!
I’ve never made a crochet cardigan. This one looks fairly easy and beautiful.
Hello! Is there another yarn that can be substituted for the Signature Fingering yarn?
Hi Colleen, thank you for your question. I’m happy to help with that.
We currently don’t have another base in stock with a similar fiber content but Moongleam Fingering (https://www.expressionfiberarts.com/categories/fingering/moongleam.html) and Sincere Sock (https://www.expressionfiberarts.com/categories/fingering/sincere-sock.html) would be great alternatives.
I hope this answers your question. Have a great day! – Johanna
I am really struggling with this pattern. I am an intermediate crocheter having made several scarves, an intricate shawl, a cardigan, and a tee-sweater. I have just started this cardigan and am working on the back panel. It is not clear from the directions as written what to repeat and what not to repeat. There are brackets within brackets and the stitches as worked do not look like the image of the back panel. Also, the chart is a mirror image of the written directions. It is very confusing and normally I find charts very easy to understand. For example, the written instructions for the design with the picot stitch reads, “2dc, picot, 2dc, ch2, dc”. The chart image for that design shows dc, ch2, 2dc, picot, 2dc.
Another thing that confuses me are the number of stitches of the worked repeat vs the number worked for size 1. Size 1 instructs chaining 112 stitches and for row 1 sc for a total of 111 stitches. 111 is not evenly divisible by 41, which I sadly realized when I worked the pattern and had 4 extra stitches at the end of row 2. 41 x 3 = 123, not 111.
Is there a longer video showing the work along the entire second row, rather than just a 41 stitch lace demonstration?
Hi Dawn, thank you for your message. I’m sorry you’re struggling with the pattern but I’m happy to help with that.
Unfortunately, there isn’t another video for this design and we’re currently not planning on adding one.
Let’s start with your second question. The repeat for the back panel isn’t 41 the repeat is 14 (only the inner red rectangle of chart 1 p. 28 for size 1). Meaning it’s 111-13 (remaining stitches on right side of the chart)-14 (remaining stitches on left side of the chart)=84 and since you’re repeating the inner rectangle 6 times (based on the instruction on top of it) your repeat consists of 14 stitches which match the amount in the inner rectangle.
Regarding the issue with the mirrored chart: Charts are read from right to left if worked in the round but since this is worked flat, R1 is read right to left and then R2 is read left to right and so one. Meaning odd numbered rows are read right to left and even left to right.
Brackets are usually read from inside out, meaning if you have brackets within brackets, then you would first apply the inner brackets which are usually parentheses, then move on to square brackets, and then to curly brackets if applicable. So let’s take a look at R2 (WS) on p.5 as an example:
“Ch 3 (counts as 1 dc throughout), sk first 2 sc, (PS, ch1, PS) in next sc, sk 2 sc, (4 dc, ch1, dc) in next sc, sk 5 sc (PS, ch1, PS) in next sc, ch1, sk 2 sc,
I assume you’re ok up to here
[dc in next sc, ch1, sk 1 sc] x 0 (0, 0, 4) (4, 0, 0) (0, 4, 4),
This part doesn’t apply to you since you’re making size 1 and for size 1 you’re repeating this 0 times (x 0)
[dc in next sc, ch1, sk 1 sc, dc in next sc, sk 3 sc, (2 dc, picot, 2 dc,ch2, dc) in next sc, sk 3 sc, (dc in next sc, ch1, sk 1 sc) x 2] x 6 (7, 8, 8) (9, 11, 12) (13, 13, 14),
You will start at the beginning of the square brackets with dc in next sc, continue crocheting to the parentheses (), crochet what’s in the parentheses in the next sc, sk 3, and repeat the next parentheses twice (x 2). Following you will repeat the entire instructions within the square brackets 5 more times for a total of 6 times (x 6)
[dc in next sc, ch1, sk 1 sc] x 0 (0, 0, 4) (4, 0, 0) (0, 4, 4),
This part doesn’t apply to you as well since you’re making size 1 and for size 1 you’re repeating this 0 times (x 0)
sk 1 sc, (PS, ch1, PS) in next sc, sk 2 sc, (4 dc, ch1, dc) in next sc, sk 5 sc, (PS, ch1, PS) in next sc, sk 1 sc, dc in last sc, turn.”
I hope this solves your issues. Please reach out via the contact form at https://www.expressionfiberarts.com/contact-us/ if you have further questions.
Have a nice weekend!- Johanna
Hi. I think this cardigan is beautiful and have started with the gauge sample but am struggling to know how to count the 2 dc,ps, 2 dc, 2 ch, dc. Is this 7 stitches? Think I will send email with picture. As this may be easier
Hi Julia,
thank you for your message. Yes, those count as 7 sts. Since you’re skipping 3 sts before and after and work this combo: 2 dc, picot, 2 dc, ch 2, dc into one stitch it’ll represent 7 sts.
I hope this is helpful. Have a nice day! – Johanna