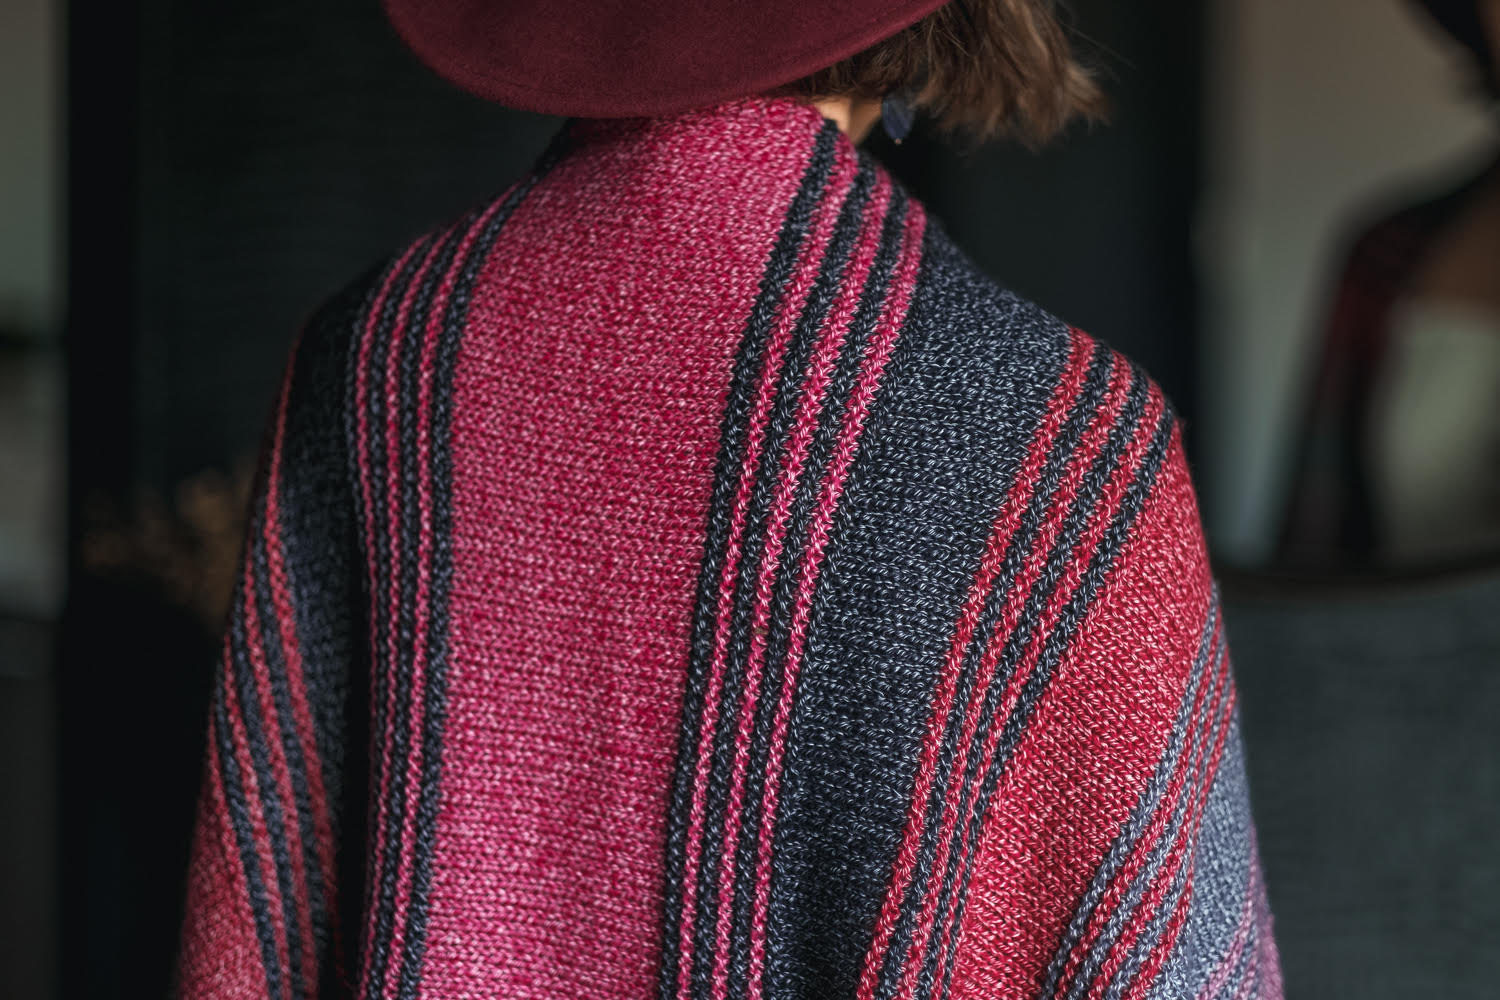
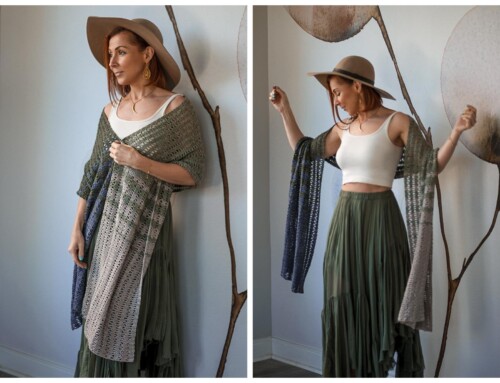
Hello, my dazzling diamond! We are starting this year off with a lovely treat for all you knitters. It’s a new adventurous beginner level knitted shrug pattern called Gofleidio, and I hope you’ll love it!
Gofleidio was designed by Janica York Carter. Make it with our North DK yarn for a warm treat to wear when you are in the office, a movie theater, on an airplane, or whenever you just want to snuggle up in something warm.
This shrug is offered in three sizes (XS–M, L–2XL, 3XL–5XL) so that you can choose a wingspan that fits best.
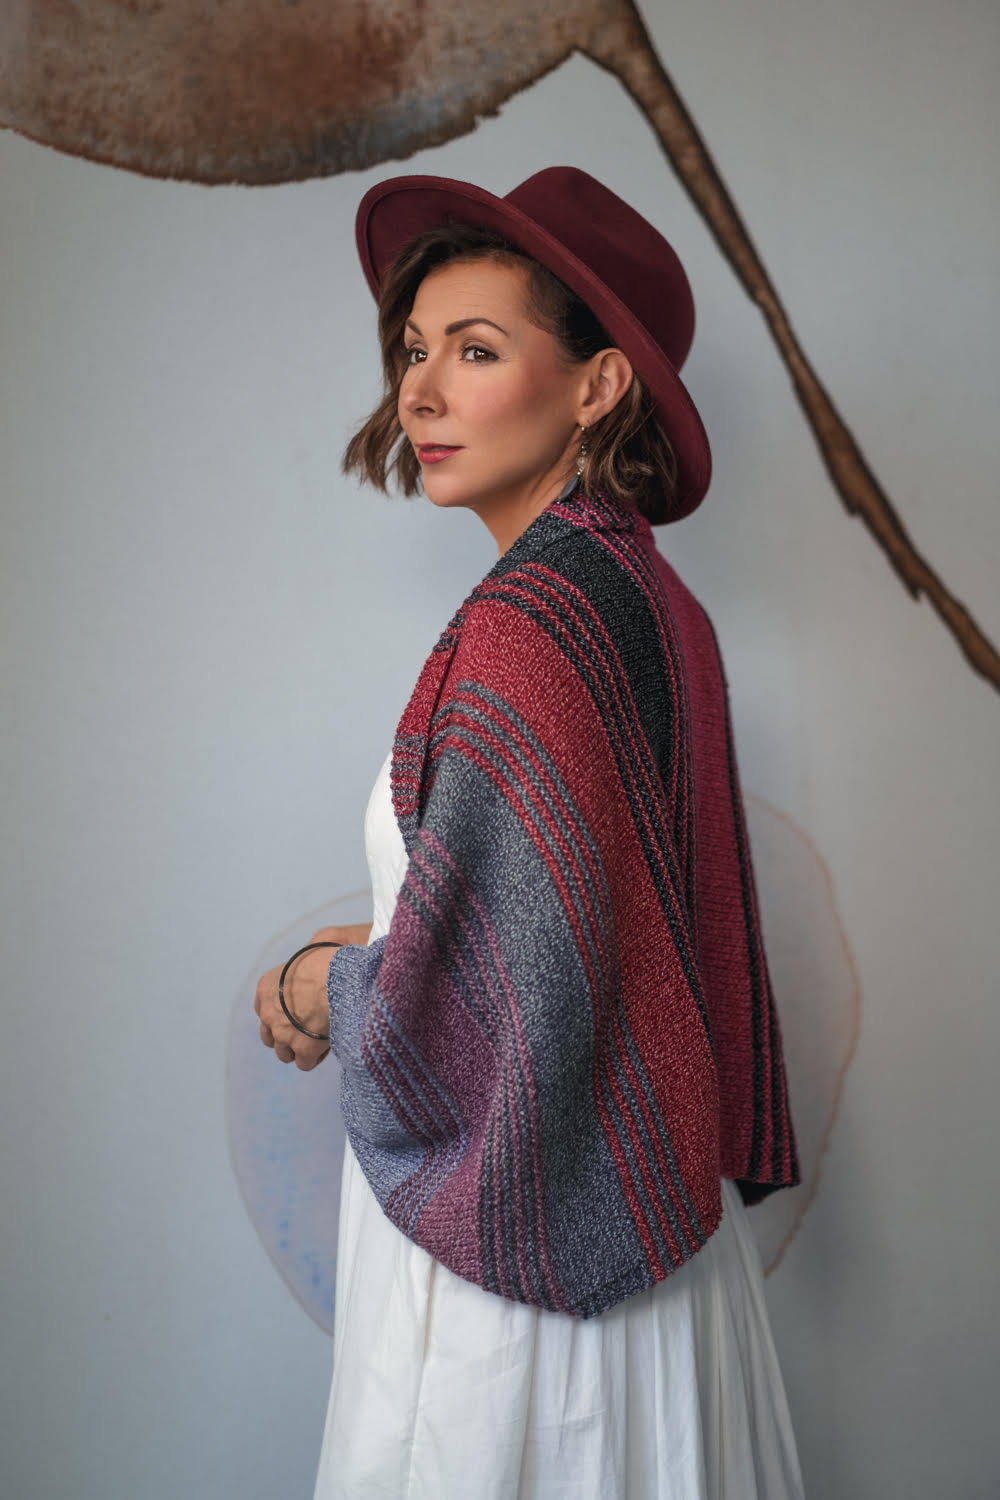
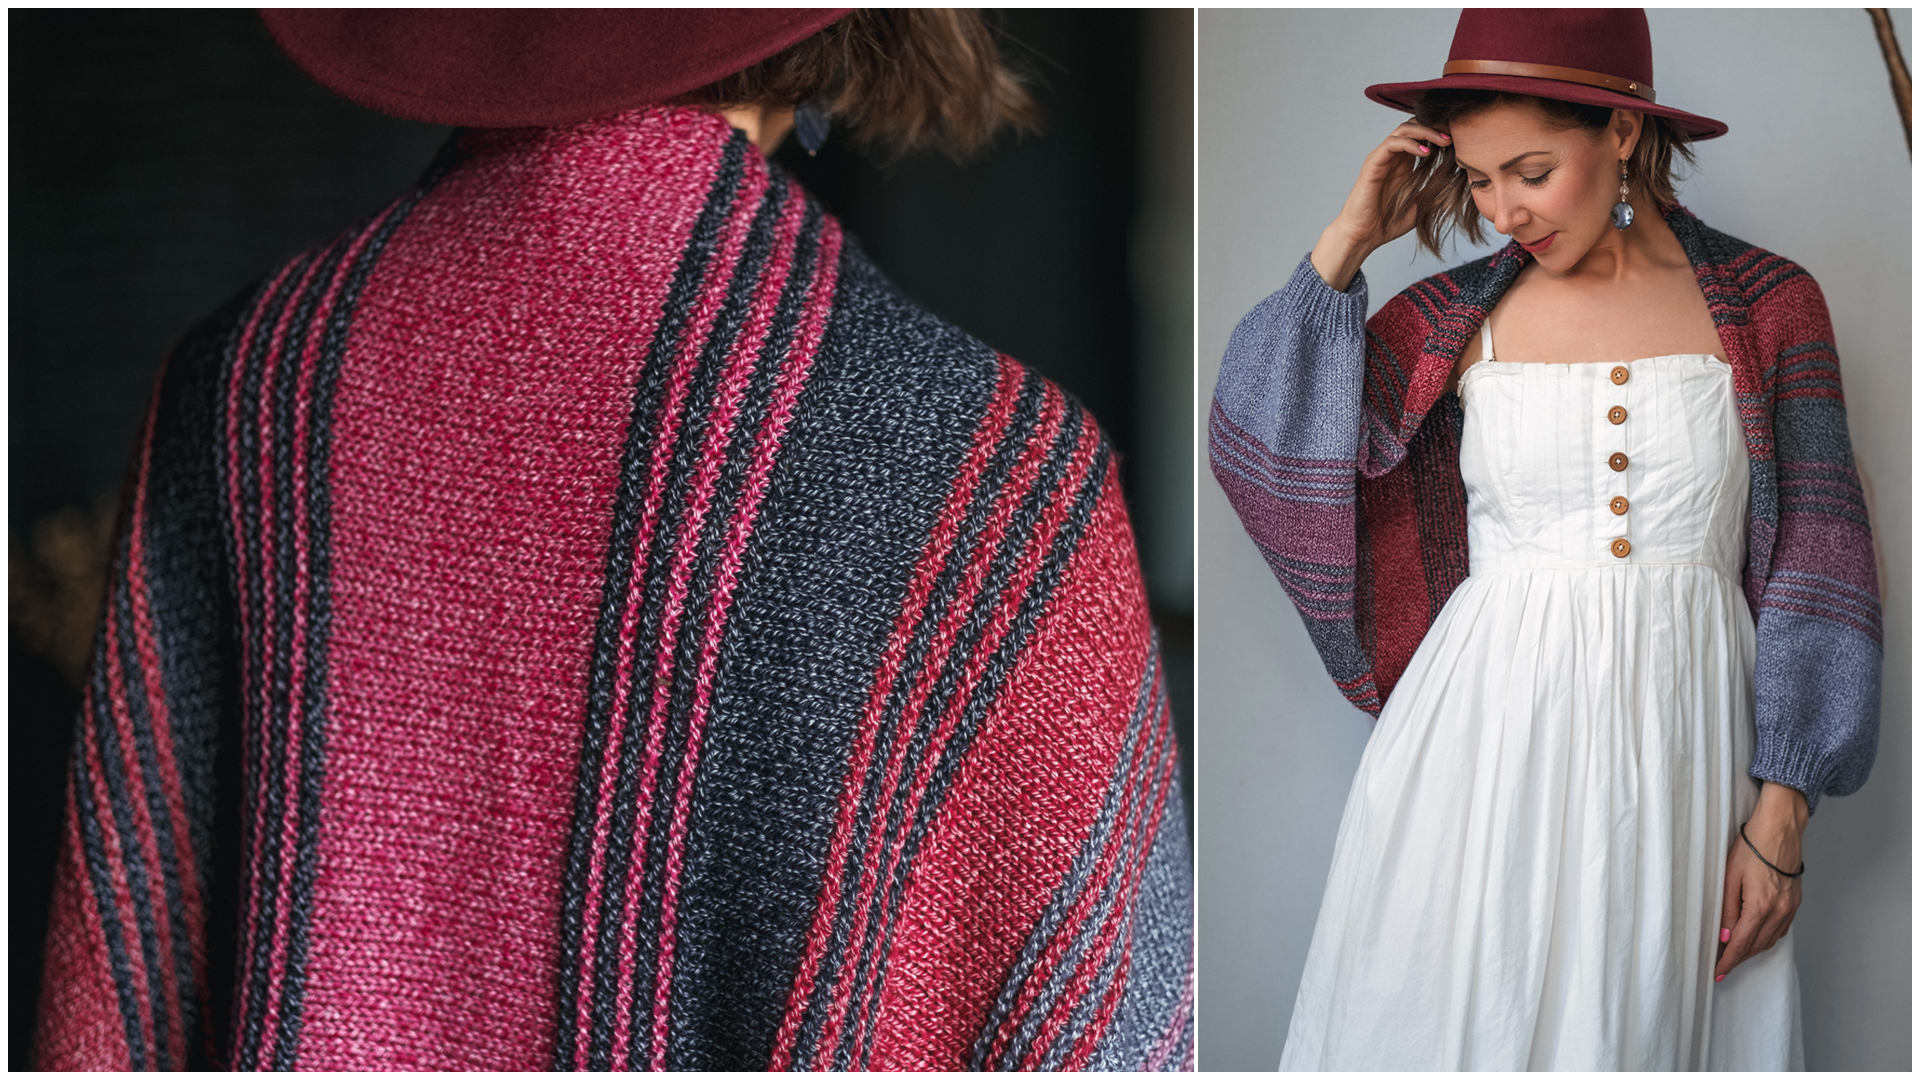
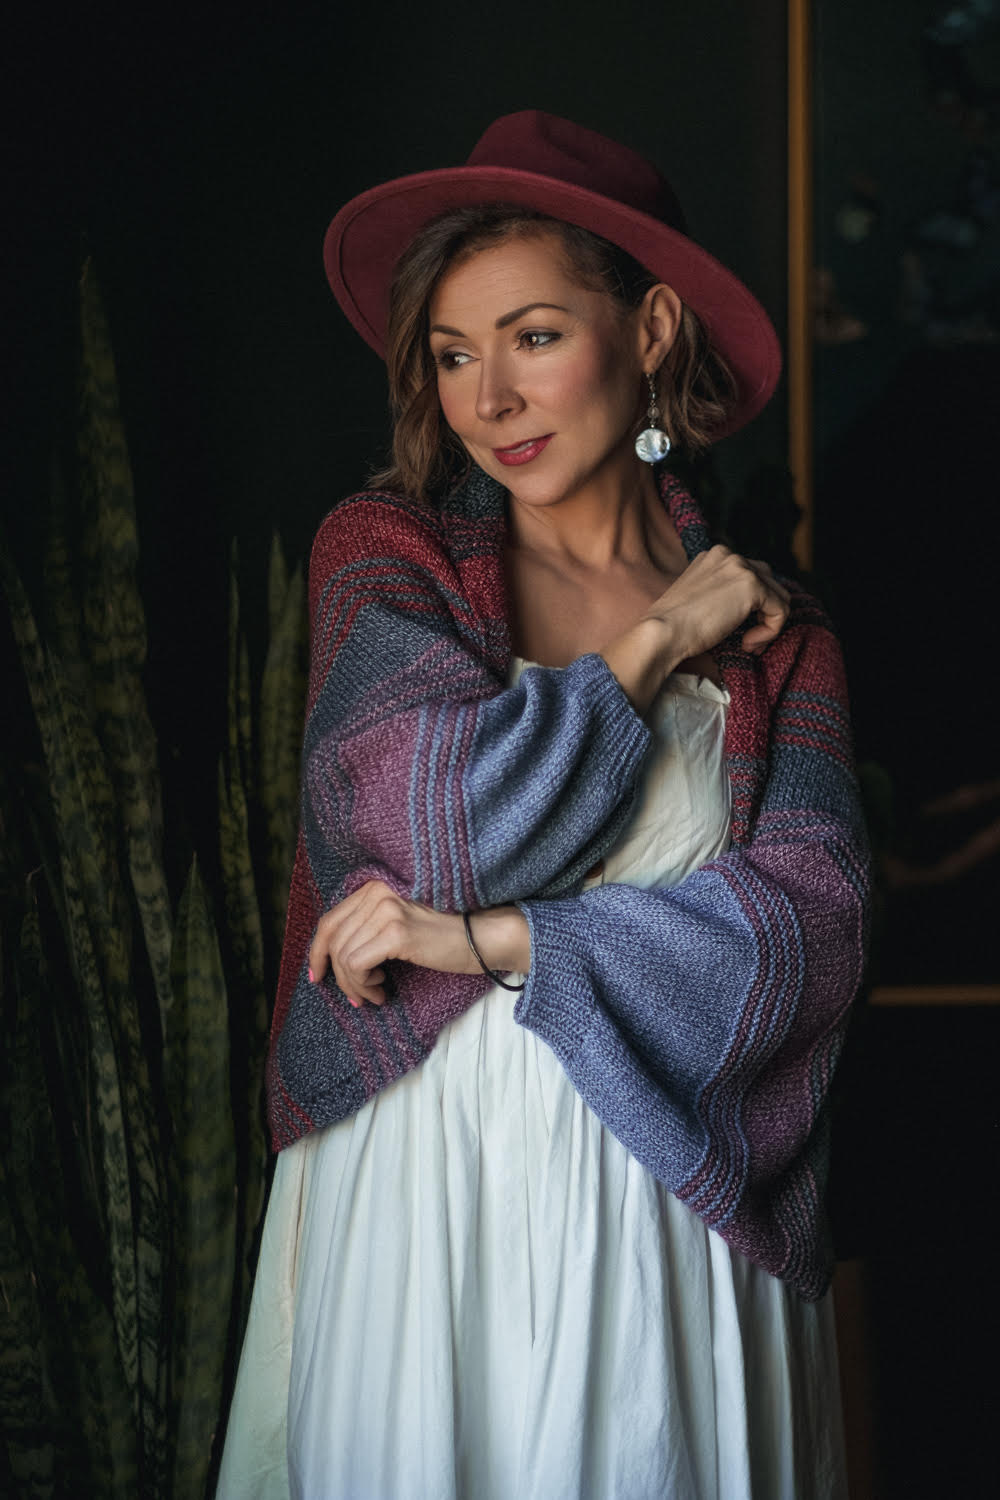
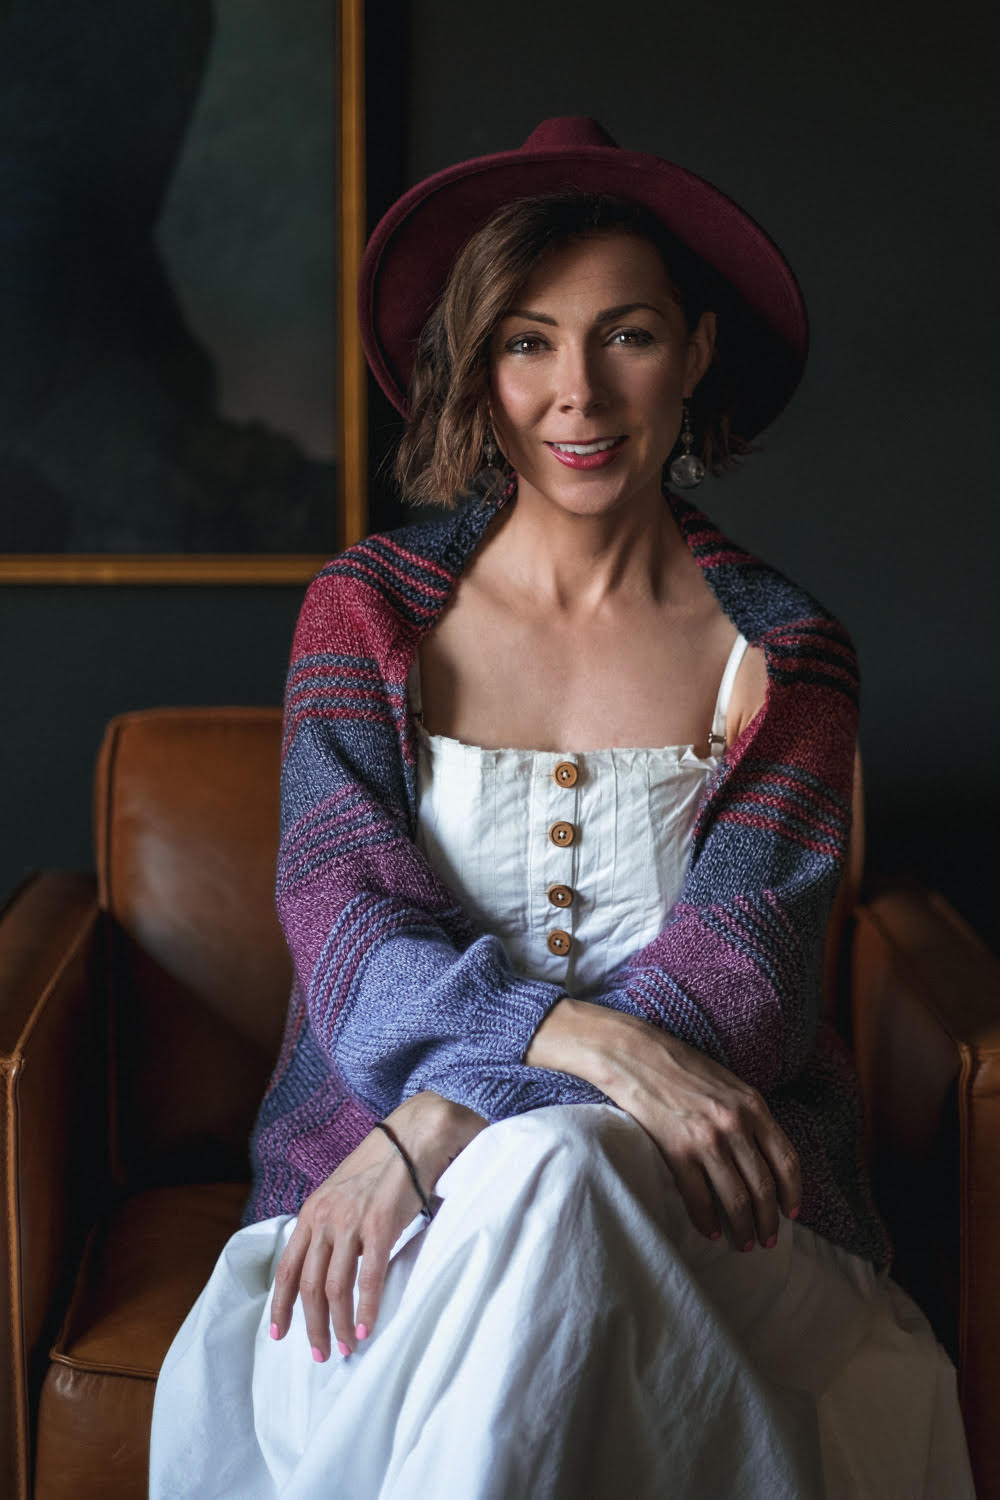
Gofleidio is a Welsh word for cuddles or embrace. This quick-to-stitch shrug hugs your shoulders and wraps your arms in snuggly softness. Worked from side to side, you start by working a ribbed cuff in the round, increasing stitches as you progress up the sleeve. Then you switch to working flat in rows, adding some textured stripes as you change colors. Once you reach the center back, you do it all again in reverse!
Knitting, purling, and occasionally changing and carrying colors at the end of a row makes this shrug perfect for an Adventurous Beginner to learn the basics of garment construction.
We filmed a video tutorial for you showing you how to work this pattern. It’s easier than you think!
Take a look:
The sample shown features our limited edition North DK yarn, which is a soft, gentle, flexible yarn that feels amazing on your skin and has a lovely bounce! Our North DK yarn is a blend of 66% Extra Fine Merino Wool and 34% Pima Cotton. It has 264 yards (241 meters) per skein.
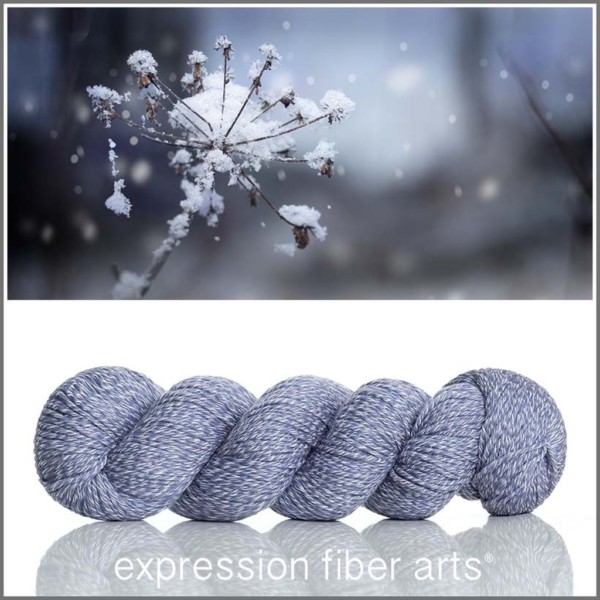
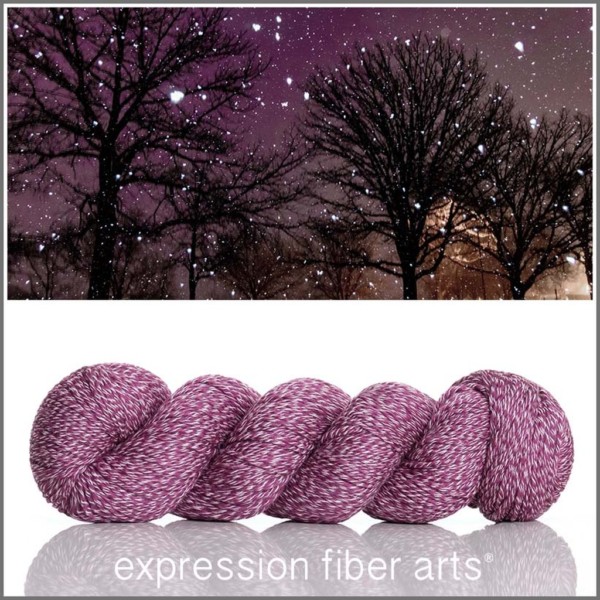
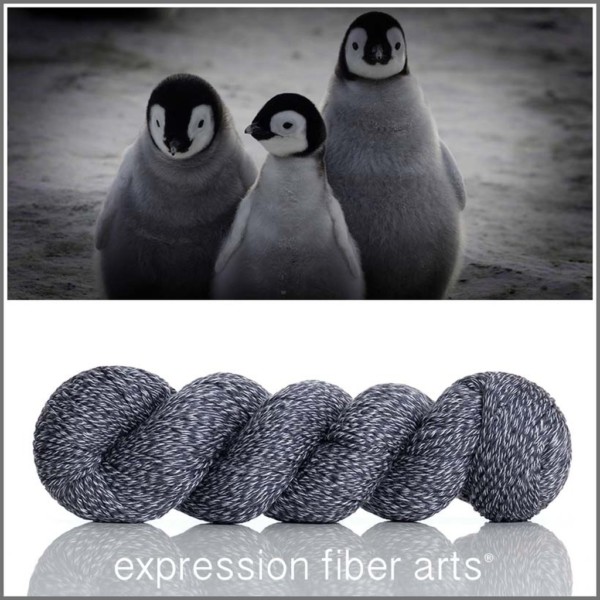
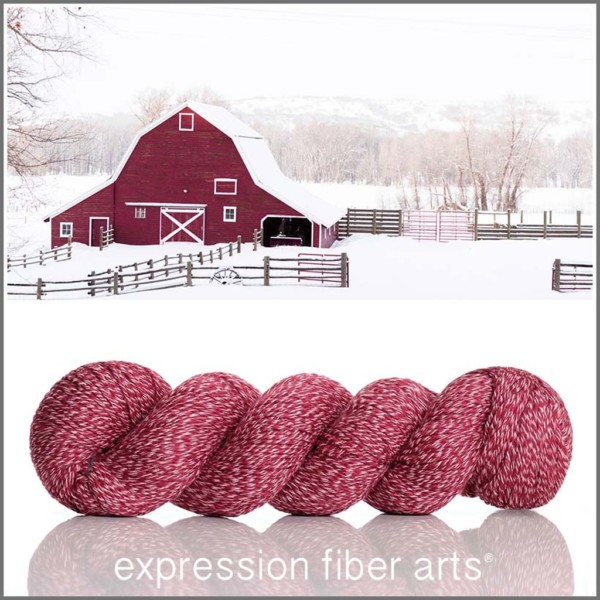
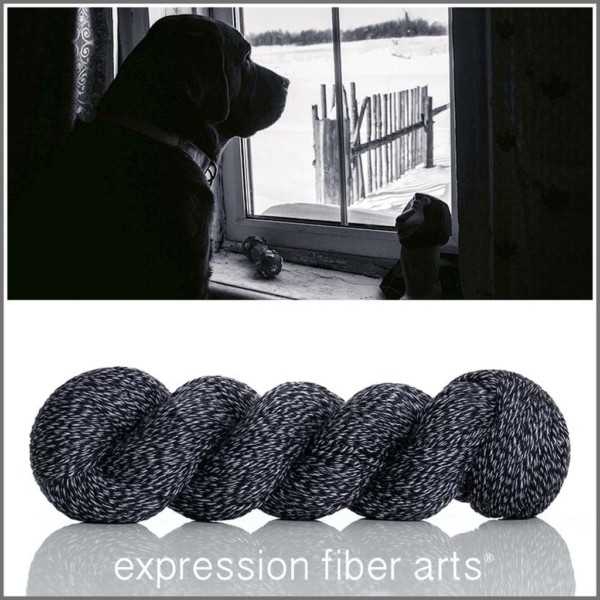
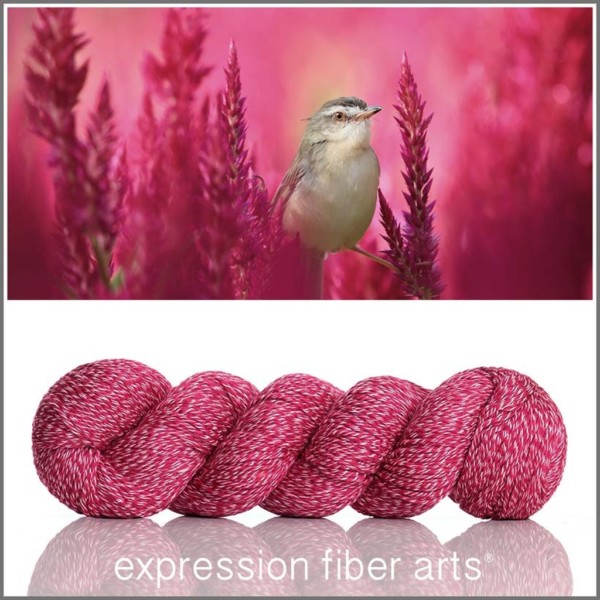
The sample shown here used approximately 910 yards (836 m) total [Color A: 200 yards (183 m), Colors B-E: 150 yards (138 m) each, and Color F: 110 yards (101 m)]. It used these colors: A (Midnight Snowfall), B (Cozied Up), C (Penguin), D (Farmhouse), E (Peaceful Hush), and F (Warm Embrace).
All sizes require one skein each in colors A-F (six skeins total).
- Midnight Snowfall
- Cozied Up
- Penguin
- Farmhouse
- Peaceful Hush
- Warm Embrace
We sincerely hope you love knitting this shrug in whatever colors you choose.
I appreciate you reading this far, and if you’d love to get brand new, premium knit and crochet patterns weekly, just hop onto our email list there on the site. We list new patterns most Fridays, and many are free for a limited time. I hope to see you there.
Talk to ya soon.
XOXOXO Chandi



Beautiful! Is the “wingspan” measured from fingertip to fingertip or wrist to wrist?
Thank you!
Wendy
Wrist to wrist, or edge of cuff to edge of cuff.
This Is so lovely. Is the edge (top and bottom) a knit row and a pearl row just before the stockinette starts?
Also, how would you suggest adding the new color sections? Will it require weaving in at the end?
There are alternating sections of stockinette and garter stitch in the body of the shrug. It’s knit sideways from cuff to cuff, instead of top to bottom. In the stockinette sections, there are 4 knit stitches on WS rows to create a bit of a border. You can find the complete instructions, which you can download for free for a limited time at: https://www.expressionfiberarts.com/products/gofleidio.html
You will need to break your yarns along the way to make the color changes, so yes, there will be ends to weave in at the end.
I can’t put this down. Started a week ago and half way done. The pattern is SO EASY and the yarn is so wonderful to handle. I have ordered the yarn to make the crocheted version too! This will be my go to wear when traveling. It will be hard to decide which one to take.
I love hearing that and am so happy you’re enjoying it so much!
I am looking forward to using my handspun yarn to knit up this wonderful pattern!
I’m little confused about the center back stockinette section. I don’t see it in the instructions, it must be there, I’m just not reading it correctly. I assume that I’m to double the
center back rows of the stockinette panel and then continue to mirror what I did on the first half on down to the second half? is this right?
Please advise ..and thank you so much.
Hi, Joyce. On page 5, where it says to start working in rows, you’ll knit rows 1 through 26 (30) (34) [depending on your size] in colors A and B. You then repeat these rows four more times alternating through the remainder of the colors. These are the instructions in the top of the right-hand column on page 5. Once completed, you’ll be at the center point of the back. This is the first half of the center back stockinette section that you’re searching for. Then, towards the bottom of page 5 where it says “Center to Cuff” you’ll start down the other half of the shrug towards the other cuff. These instructions on page 5 and 6 are the other half of the center back stockinette. “Center” in the pattern instructions refers to the center back, not the sleeve. I hope that helps you to understand the pattern better. Please let me know if you have other questions.
Gotit! Thank you, Monica.
I have completed the project and love it. I had to make a few adjustments on the 2nd half as my gauge loosened as I went along but really like the shrug. I am having trouble with the area where you go from magic loop to knitting flat. The stitches have really stretched open with use. Is there a way to bring them back together and reinforce them to prevent the stress pulling them farther and farther apart?
Thank you
There are a couple of things you can try to do once you’ve finished knitting the sleeve. You can use the tip of a knitting needle or a tapestry needle on the loose stitches and pull the slack in the stitches from one end of the row to the other, one stitch at a time. This isn’t our video, but this shows what I mean: https://www.youtube.com/watch?v=VWWQbtCDcDI Then once you’ve adjusted the tension, you can pull the loose yarn through to the back, and weave in the ends. The second thing that you could do is, again on the WS, use some leftover yarn to reinforce the loose stitches and draw them together with a little weaving and sewing. I’d first try the first method that I explained because it will maintain the integrity and structure of the stitches, but a little discrete sewing could also do the trick. Hope that helps.
Hello;
I’m having an issue with going from knitting flat, to knitting in the round. I finally got to the part where I’m supposed to start knitting in the round again, and I did magic-loop and joined…but instead of getting the “right side” on the right side, it’s appearing inside the tube instead! I had to put in a lifeline because this keeps happening, and I honestly do not understand where I am going wrong on this. I am doing it exactly like the video described, working the side where the yarn is not attached, but it’s not matching the first cuff I have.
Please help, and thank you!!
So when you say the RS is on the inside, do you mean you’re seeing stockinette on the inside and reverse stockinette on the outside of the cuff (RS)?
Yes, that is correct. I’m honestly not sure what I’m doing wrong.
Okay, so I reached out to Janica for some more information, and we think we’ve figured out why you’re having trouble. I think you’re following the video exactly as it shows, but unfortunately, the video doesn’t quite match the pattern instructions. I’m very sorry about that, and that it slipped by us and caused so much frustration on your part.
Janica said, “The way it’s written, you end the flat section on a wrong side row. Rnd 1 of the cuff is a right side round, so you would need to turn your work before starting the cuff. That’s not exactly what the video shows, unfortunately. The video puts the join at the beginning of the round, but what’s written puts the join at the end of the round. That’s what flips the stockinette.”
So here’s how you should do it. Finish your final flat row (WS), and then turn your work. Your working yarn will be at the right side. Knit across the row, and then make the join at the END of that row (which is now the first round) by folding the piece in half, placing a marker, and then knitting the next stitch. Then you’ll continue knitting rounds, as directed, which will make your stockinette stitch appear on the RS. I hope that helps. Let me know if you have other questions.
It’s working, it’s working! That was the fix! Thank you so so much!!
Yay! I’m so glad that fixed it for you.
How can I download my free https://www.expressionfiberarts.com/products/gofleidio.html pattern
Our free patterns are generally free for a limited time immediately after they are released for the first time (usually for 4 weeks). While the Gofleidio shrug is not currently free to download, you can purchase it at https://www.expressionfiberarts.com/products/gofleidio.html
The best way to never miss out on any of our free patterns, which come out nearly every Friday, is to sign up for our email newsletter at https://www.expressionfiberarts.com/
Just scroll towards the bottom of any page to sign up. Newsletter subscribers also receive coupons and discounts not available anywhere else.
Hi there,
Blessed happy new year to you!
I’ve recently started on this beautiful shrug pattern glofleido using the dewy DK kit (which is so gorgeous btw). I’m using 4.5mm and my gauge seem to roughly match the one specified in the pattern.
I’m up to row 42 where I’m supposed to switch color but am worried if the size is a little small and wonder if I need to increase my needle size.
Without stretching, my cuff measures about 4cm in height and 42 rows measures 14cm from cuff to needle.
Would you mind advising me on whether I’d need to and redo with 5mm needle or blocking would do the trick?
Thanks!!!
Hi Carolyn,
thank you for our question. I’m happy to help.
Have you done a regular swatch in stockinette stitch to determine your gauge or are you estimating it based on the cuff? Since the cuff is worked in 1×1 ribbing and in the round it might not exactly reflect your gauge. So I’d suggest to make a swatch in stockinette stitch that is at least 10 cm wide and 10 cm high to check if you get Janica’s gauge specs of 19 sts and 24 rows.
If that’s the case then you can continue with what you have knit so far. If you’re are off you will need to redo the cuff.
I hope this helps. Happy New Year! – Johanna
Hi! I heard that there was a crochet version but haven’t been able to find it!
Hi Stephanie, thank you for your message, I’m happy to help.
Yes you’re correct we have a crochet version of the Gofleidio Shrug. It’s called Glacadh and you can find it here: https://www.expressionfiberarts.com/products/glacadh.html
Enjoy and have a fabulous week! – Johanna
How would adjust the pattern for fingering weight yarn?
Hi Victoria,
to adjust a pattern from a heavier weight to lighter one like here from DK to Fingering you have to make a swatch and see if you can get the same gauge as stated in the pattern with your thinner yarn but with a larger needle. You will need to go up needles sizes, I’d say at least 1 probably more like 2 or 3 (depending on how tight you knit) to make gauge. Once you make gauge you have to decided if you like the fabric you’re getting with your larger needle and thinner yarn. If so you’re good to go. If not, you might need to find different yarn that is thicker and closer to a DK weight.
I hope this is helpful and answered your question. Have a great weekend. – Johanna
Hi I love your shrug . I’m new to the site so looking for pattern print out and how do I get that beautiful yarn.
Thanks Dawn
Hi Dawn, thank you for your comment. I’m happy to help.
You can find the yarn here https://www.expressionfiberarts.com/categories/dk/north-dk.html but we might not have the colors available anymore. The pattern can be found on this site https://www.expressionfiberarts.com/products/gofleidio.html
Unfortunately, we don’t offer pattern print outs only digital copies in pdf format.
I hope this answers your question. Have a wonderful week! – Johanna